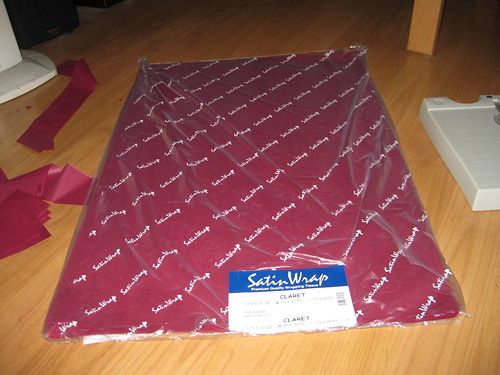

this was when we started...
but it started out as just plain tissue paper. purchased from paper mart.

my fab coordinator customized martha stewart's directions to fit our needs. the tissue paper was cut down to size, folded, wired, and then made to bloom!
Step 1: Cut out 8 sheets of tissue paper 6 inches by 10 inches. Stack the tissue paper on top of each other and turn it so that the 6 inch side is parallel with your stomach. Accordion fold the paper into 3/4 inch wide folds, creasing at each fold.
Step 2: Fold a piece of 5 inch floral wire in half, and slip over the center of folded tissue; twist. Trip the ends of tissue with sharp scissors into a half circle shape.
Step 3: Separate the layers, pulling away from the center, one at a time. Your goal is only to make a half sphere, not a full sphere. This step is crucial, the more you fluff and pull away the layers, the better the flowers look. Your end result should be a dome.
The initial use was decor for the napkins, but a last minute change made these a great accessory to our favor. Not to mention that it really complimented the centerpiece!

The flowers definitely had multiple purposes! My girls wore them as corsages later on. I also heard that at one table, there was a 10-15 minute conversation on how our guests were trying to figure out if the paper flowers were real or not.
It was a lot of work...but worth it...just like Heather, of "we met in a bar," said in her post on these lovely paper beauties! Heather posts her own tutorial. Or, you can check out Martha Stewart's tutorial here.


No comments:
Post a Comment