Showing posts with label DIY. Show all posts

Monday, June 1, 2009

paper flowers

With the help of slaves (volunteer fiance, sister, mom, and friends), over 200 hundred beautiful paper flowers came to life!


this was when we started...

but it started out as just plain tissue paper. purchased from paper mart.
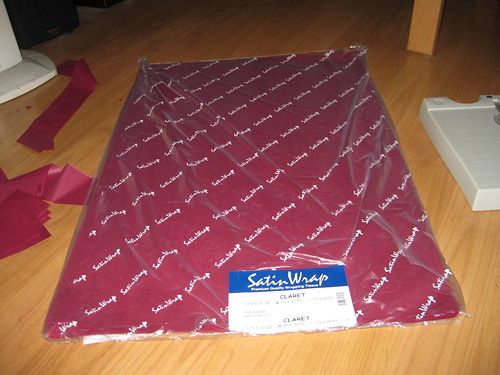
my fab coordinator customized martha stewart's directions to fit our needs. the tissue paper was cut down to size, folded, wired, and then made to bloom!

Step 1: Cut out 8 sheets of tissue paper 6 inches by 10 inches. Stack the tissue paper on top of each other and turn it so that the 6 inch side is parallel with your stomach. Accordion fold the paper into 3/4 inch wide folds, creasing at each fold.

Step 2: Fold a piece of 5 inch floral wire in half, and slip over the center of folded tissue; twist. Trip the ends of tissue with sharp scissors into a half circle shape.

Step 3: Separate the layers, pulling away from the center, one at a time. Your goal is only to make a half sphere, not a full sphere. This step is crucial, the more you fluff and pull away the layers, the better the flowers look. Your end result should be a dome.

The initial use was decor for the napkins, but a last minute change made these a great accessory to our favor. Not to mention that it really complimented the centerpiece!


The flowers definitely had multiple purposes! My girls wore them as corsages later on. I also heard that at one table, there was a 10-15 minute conversation on how our guests were trying to figure out if the paper flowers were real or not.


It was a lot of work...but worth it...just like Heather, of "we met in a bar," said in her post on these lovely paper beauties! Heather posts her own tutorial. Or, you can check out Martha Stewart's tutorial here.

Sunday, March 29, 2009

Invitations in Detail


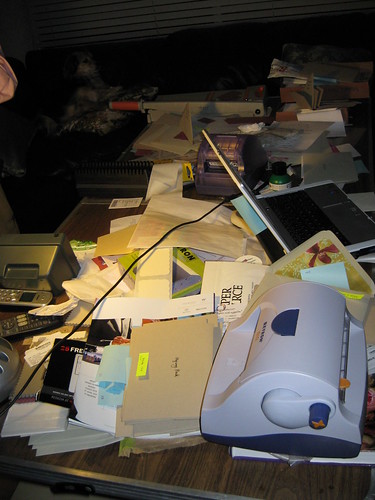
my work station. only 1 table of 2 shown. 2nd table is underneath.

Our invitations were created by DIY, and unfortunately, as I got deeper in my work, I did not take any pictures of the process as it had become so tedious, and I just wanted it done!

We had 2 different versions of our invitations. One in Vietnamese (as requested by his parents) and our English version. The Vietnamese ones were a surprise project, and I had 1 week to complete it. I somewhat resent these as they were unplanned and totally threw me off my invitation printing schedule.


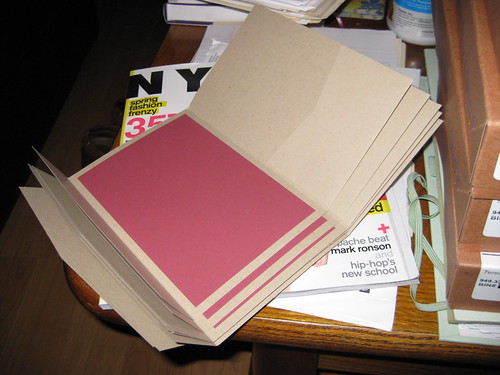
We started by attaching the backing to our pocket folders.


I started with the text first, which I embossed. It looked great.


I then went straight to the invitation. I used a flower patterned design made by Darci.


And then the next task...tackling the inserts.

I loved the embossing on the black text so much that I had decided to emboss everything. Probably not the smartest thing I thought up to do because it totally prolonged the process.

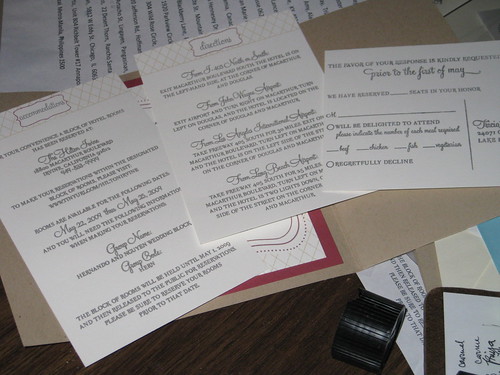
Okay, so we only needed 30 of those Vietnamese invitations for his parents, so that was all I was planning to do. So I burned my "accommodations" and "directions" insert on my Gocco screens and got to work. And here are the problems I ran into:

1. an indentation on my Gocco screen caused 1 letter to print out darker than the rest
2. my Gocco PG-11 only had a print pad size of 3.75x5.75. my invitations were at least 4" in width and 6.75" at its longest length, which was my bad. i should have measured accordingly, but I didn't, and this led to my next problem:
3. each insert needed to be Gocco'd at least 3 times (except for the Vietnamese invites)
4. not all embossing powders are created equal; I found the Judi-Kins embossing powders (fine) were best.
5. Gocco screen can be reused, BUT they are better (like 100x better) when you first apply fresh paint. Refrigeration can only save so much. I ended up having to burn new screens as the other ones weren't printing as well. =( I just couldn't simply finish EVERYTHING the weekend I did the Vietnamese invitations. I only needed 30 of those done, so I set out to only complete 30. It would have killed me if I did any more.

I'll continue in another post. I'm tired from thinking about it. Hah!

But all invitations are out. So WOO HOO!!

Wednesday, March 18, 2009

this week's lack of posting

reason: my diy invites are kicking my ass.

Wednesday, February 18, 2009

diy projects i wanna diy

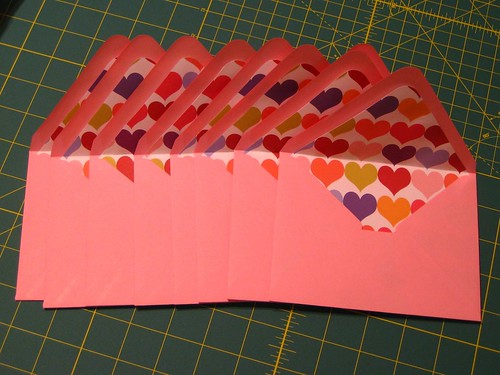
envelope liners
source: gluegunannie

tissue pouches
source: Martha Stewart

vanishing confetti
source: Martha Stewart

button place/seating cards
source: Martha Stewart

[+] obsess more

Wednesday, November 5, 2008

DIY Project No. 1


The 'maids' gifts...firstly, though, I'd like it to be known that even though I knew I was going to have to wait 2 years until our wedding day, the excitement pushed me to ask everyone (almost) to be my bridesmaid. Big OOPS! It was hard to fix the mess that I'd put myself into; it gnawed at me for far too long. So bride tip #1, choose your bridesmaids wisely...and wait. I mean, really think about it...think about the expenses you'll incur times the number of 'maids you can really afford. Think about their ability to pay for the expenses, their ability to be reliable and available, and their ability to still love you after you become bridezilla. I love all my girlfriends, and if I had it my way, I'd have 12 bridesmaids. But I can only handle so much.

After I fixed that mess...I had a bridal party. They already knew who they were, but I still wanted to do something special, so I made bridesmaid gifts. I also have to say that I'm an anxious person, and sometimes, I can't wait, so unfortunately, only 3 of my 6 (did I mention I have 6 'maids?) got to experience the full effect of my gift ---> I had planned to mail the gift to each 'maid (as I love receiving things in the mail!), but I jumped the gun with my local-ish 'maids, and ended up giving their gifts...unpackaged and unpretty...but they all got the same thing, basically. =|

First, I downloaded bridesmaid info cards from MarthaStewart.com after entering contact info for each 'maid.


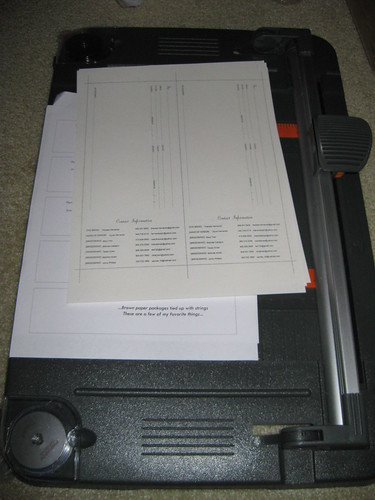
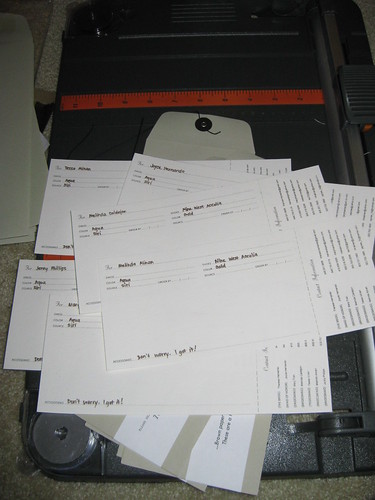
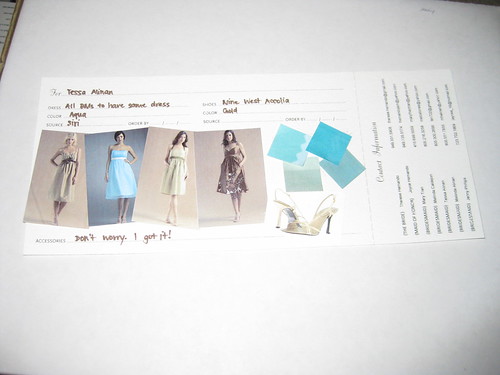
I cut them up with my rotary cutter. I wrote all the info the girls would need regarding their attire on the cards.


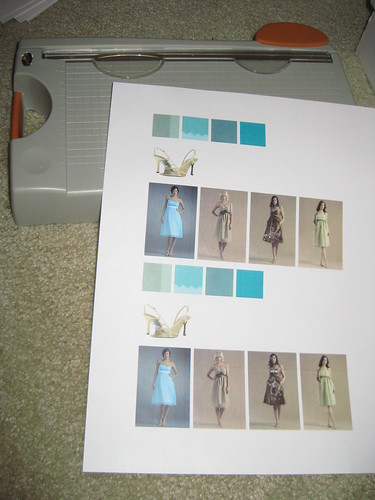
I printed out my favorite dresses from Siri (where we'll be getting BM dresses), color swatches from Siri, and their shoes (Nine West Accolia in Gold).


I randomly glued the pieces to the info card. I then printed out wrap around labels, also from MarthaStewart.com after entering the respective info for each BM.


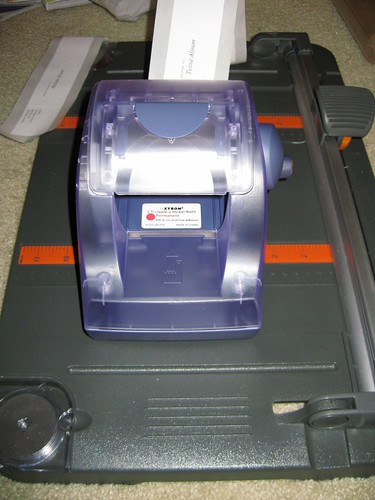
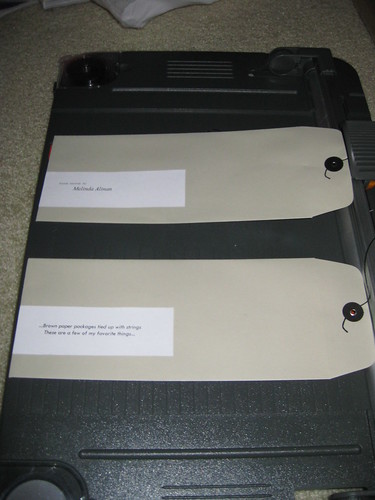
I then cut them up with my rotary cutter and ran the labels through my Xyron and then affixed them to the envelope.


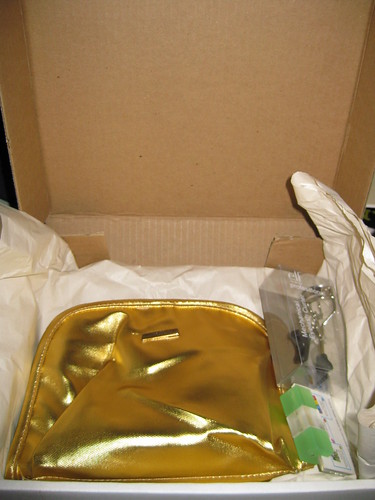
For the packages I was sending away to my out-of-town 'maids (they're actually all out-of-town, some closer than others though), I put the envelope inside the boxes I got from Staples, on top of the gifts which included a frame of me and the respective 'maid, a makeup bag, tools & accessories from e.l.f.


Okay, so in the madness that is my life...Dee and I were in the process of moving, so I was not able to search and print out pictures, but I included a note asking that the 'maids to insert a picture of us in the frame. <-- lame, I know I am.


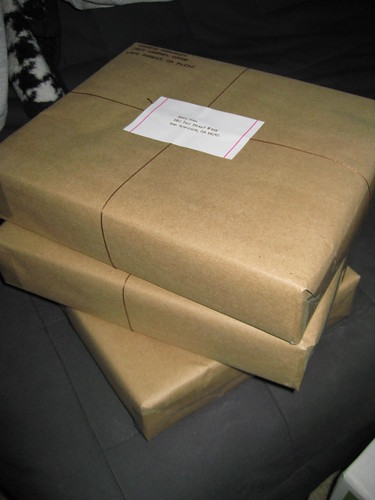
I then wrapped the boxes in brown paper and tied them up with string. For the girls with these packages, The labels on the envelope said "brown paper packages tied up with strings, these are a few of my favorite things." To which you would then find the makeup and picture to mean that getting packages in the mail is one of my favorite things, as well as makeup, and that particular person...i thought it was cute. I just addressed it to the girls I already handed the gifts to. 'Maids, if you're following, I'm so sorry to not have done it all the same...i was just too darn excited!

Et Voile!


From the response (of both packaged and unpackaged gifts)...I inferred they were a hit!

[+] obsess more

Tuesday, August 26, 2008

Go on...DIY

The future in-laws are in town, and that is why I have been silent. And because of the hecticness that is this week (and past week), I will be directing you to some cool blog posts on DIY that I've stumbled upon.

DIY Boudoir Photos

Miss Candy Corn of Weddingbee busted out the Canon point and shoot and decided to do her own boudoir pix.


How fabulous are these? I still cannot beleive these are DIY! Talk about saving money...

DIY gift box from cereal box


I first saw this project on a $10,000 wedding. It looks like so much fun to do...I wonder how I could use it in our wedding...

Tissue Paper Pom Poms

As seen on Weddingbee by Mrs. Penguin (using real flowers), and Knottie Vintage Glam. These DIY decorations are uber cute!


Martha Stewart


Martha Stewart

These could definitely help save money if you can't go all out with flowers and decor.

Now, go take up a project and DIY!

[+] obsess more